This post is a continuation of a description of applying liquid EPDM roofing to our existing black EPDM rubber roof. Here I discuss what I learned from that job. See Our New $2 per Square Foot Rubber Roof
Inspect Your Rubber Roof – before applying EPDM rubber roof coating
Our roof leaks damaged our building interior. I should have inspected and patched that black EPDM rubber roof 3 years ago. Sending local roofers up there wasn’t a good option for us because they weren’t thorough enough. Coating the roof 3 years ago would have been a better option than waiting until rain water damaged drywall and ceiling tiles.
Cleaning is Essential
We pressure-washed the roof to clean it. If I had to do it again, I might vacuum the roof first. The stiff push broom would help loosen the dirt for the vacuum as the broom did for the pressure washer. Pushing all that dirt from the roof’s surface to the drains with pressurized water took a long time. The low spots held dirt after the pressure washing and there are places where the liquid EPDM didn’t bond because of dirt I think. The manufacturer says that un-adhered areas aren’t a problem. I don’t see the non-adhesion as a problem either because the unbonded liquid-applied EDPM lays flat and is bordered by adhered EPDM. We applied the liquid EPDM about 10 mils thick in a single seamless sheet.
Cleaning Our Rooftop Units
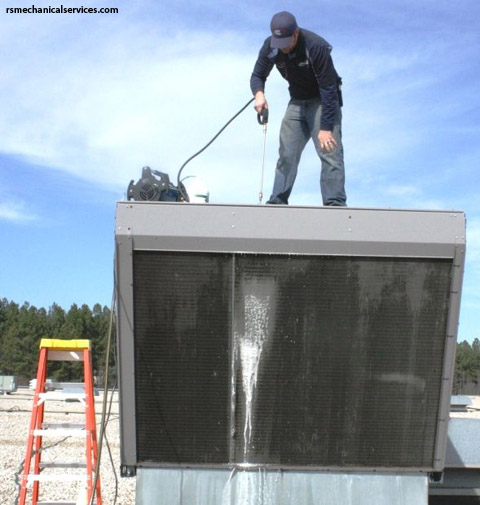
This is the right way to clean condenser coils.
Since we had a pressure washer up on the roof anyway, we decided to try to clean the condensers of our rooftop air conditioners. I was afraid the high-pressure water would bend the coil’s fins, but that didn’t happen. I’d always taken off the condenser fan and directed water from a hose nozzle to the inside to the coil to drive the dirt out the same way it came in. The day that we pressure-washed the roof, weather was threatening snow so we were in a hurry. We just directed the high-pressure water into the outside of the coil to see what would happen. To our surprise, the fins didn’t bend, and so we blasted the dirt out of the coil into the drained cabinet of the condenser. Filthy water ran out of the cabinet drains for five to ten minutes on each of the three rooftop units.
Testing a New Caulk
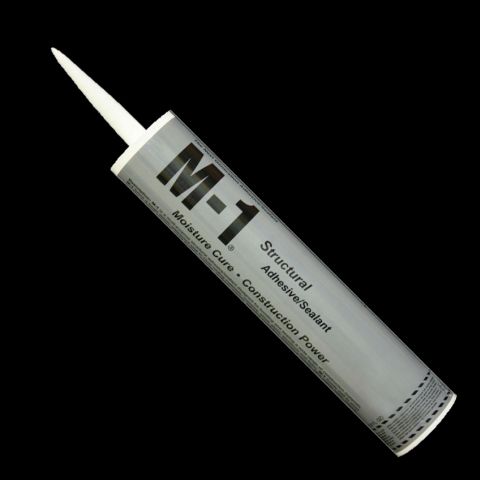
Silyl-terminated polyether is relatively new to US markets.
I tested an unfamiliar caulk that was recommended to have very good compatibility with the stretchy liquid EPDM. The silyl-terminated white poly-ether caulk seemed like the mastic version of the EPDM itself. The M-1 brand of this caulk is described as a adhesive-sealant, and it’s adhesion to EPDM seemed perfect. I even tried applying it to a seam in a puddle of water. Later I went back and pulled the bead off and was impressed at how well it had bonded underwater. I don’t recommend this of course. The caulk is paintable and is chemically related to some of the new water-resistive barriers used on the exterior of new residential and commercial buildings.
Put Your Heating Cable on a Thermostat
One of the things that makes flat roofs such a pain is the puddling, freezing, thawing, and damming particularly at the drain scuppers. We have the old unregulated heating cable bonded to the roofing in our scuppers. I’m embarrassed to say that we left these on continuously for three years. Makes you wonder how many miles of heating cable are energized year around in the North country.
I put the cable on a thermostat that turns the cable on at 35 degrees and off at 45 degrees F. I’m waiting for my electrician to install a switch indoors to control the outlet that the heating cable is plugged into. I want an indicator light for that switch to show me when that outlet is live. There are only a few times each year that the cable is necessary. I’ll try to remember and post how much electricity that cost us in the past three years in another post as soon as I have enough data.
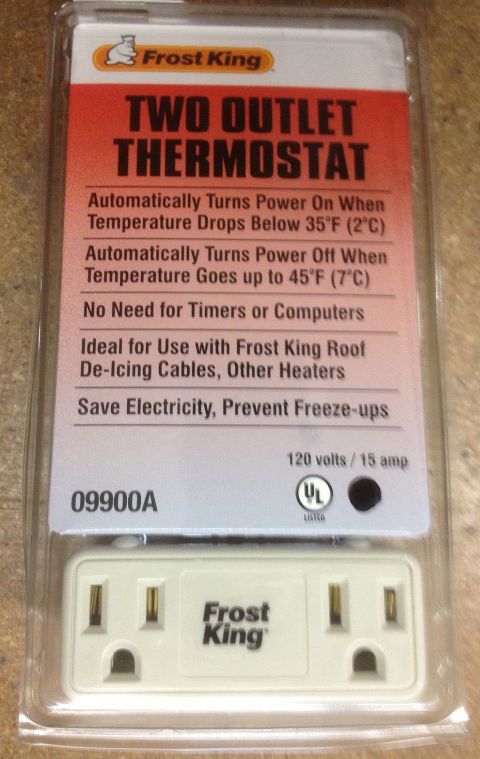
Regulated or unregulated, control your heating cable with a thermostat.